Let me start with a disclaimer….
Glass ornaments, lighting, and a flash don’t make for the best pictures… Sorry…
As I was sitting here this evening feeling creative, I decided to make more ornaments…
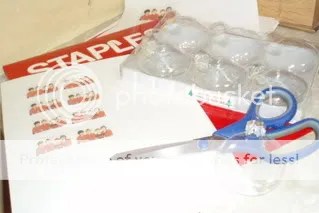
Using some transparency paper I bought several years ago for another Christmas project, I cut 2 inch circles. Then printed small pictures, you need two picture per ornament, and as I type this I realize as long as they are the same size you could use two different pictures! You will need flat glass ornaments (I bought mine from Michaels for $1.99 for a box of 6). Some photo tabs or double sided tape, ribbon, and a paint brush or another skinny object…
After you have cut out your picture you want to apply your photo tabs or double sided tape and center it on your transparency circle. Apply the second photo to the back side. Add a clear sticker (I used Merry Christmas on a few).

Then carefully (so you don’t crease your photo) roll the transparency circle, and slip it into the ornament.

It will start to unroll slightly, but this is where the paint brush or other skinny object comes in handy gently “help” your transparency unroll.

Now you will cut coordinating ribbons (I like using about three or four different types per ornament top) tie them on.

And you are left with a keepsake ornament to give!

I made these 4 in about 10 minutes!

Leave a comment